
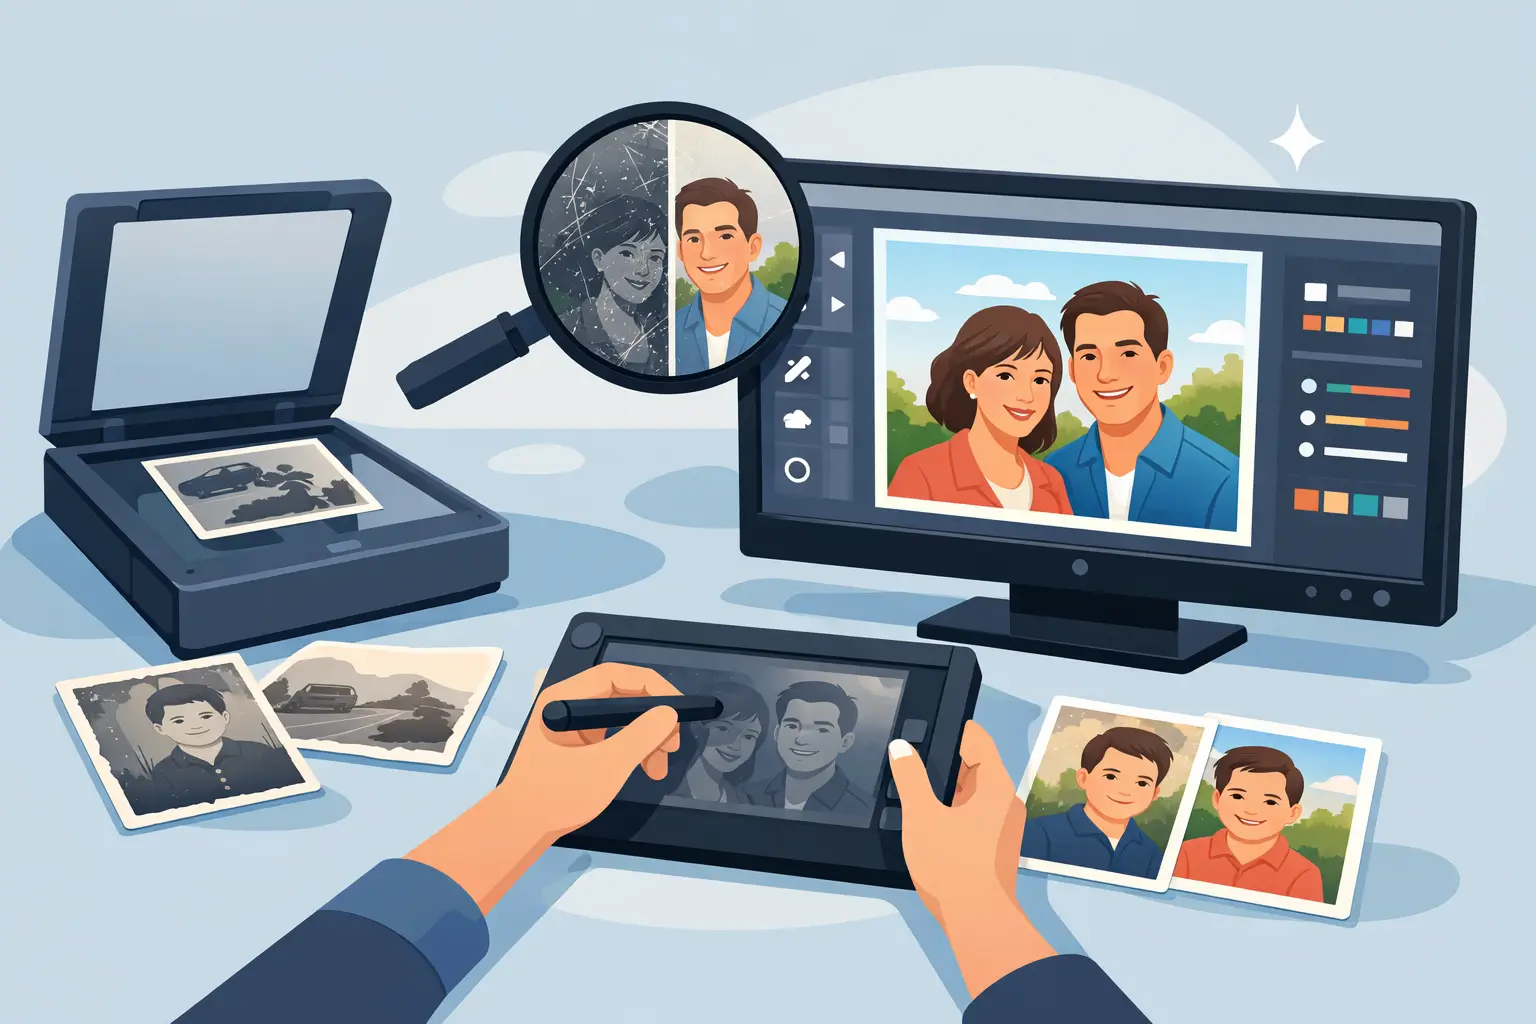
In a shoebox, between the pages of an old album, there often lies the only portrait of a great-grandmother, a photograph from the first seaside holiday or a picture of a house that no longer exists. Over time paper yellows, colours fade, and a small scratch can cover the face of an important person. Scanning and retouching old photographs let you protect such keepsakes, restore their readability and pass them to later generations without exposing the originals to further damage.
This is not about artificially smoothing every photograph and changing it beyond recognition. Good digitisation keeps the character of the era, the texture of clothing, natural facial features and the atmosphere of the frame. Retouching should remove the effects of time, not erase the history recorded in the photograph.
Why a print needs a digital copy
Old photographs are more delicate than we usually assume. Even when they lie quietly in an album for years, light, moisture, temperature swings, dust and acids in the paper act on them. Photographs stored loose additionally rub against one another, and those stuck to album pages can crack when someone tries to peel them off.
The greatest risk, however, is that a print is often a single copy. When it is flooded, lost in a house move or damaged, the moment captured in the frame cannot be recreated. A digital file does not replace the family original, but it is a safe copy and lets memories be used every day.
After scanning, photographs can be viewed on a phone, shared with siblings, used in a photo book or ordered as new prints. That is especially important when a family archive is to reach several homes and not stay locked in one drawer.
Scanning and retouching old photographs — two different stages
Scanning is a faithful transfer of the image from the print into a file. The quality of that stage decides how much detail can later be seen and possibly improved. Retouching begins only when the digital copy is ready. It consists of manual or precise digital correction of damage visible in the image.
These processes are worth separating, because a high-quality scan does not always need restoration. A photograph may be well preserved but need only digitisation and a gentle contrast correction. A badly damaged print, by contrast, first needs a file with enough data so that work on scratches, stains or cracks does not worsen the face and background.
What 600 and 1200 DPI give
DPI determines how many image points are recorded per inch of the print. In practice a higher resolution keeps more detail. A 600 DPI scan is a good choice for most family photographs when the aim is archiving, viewing on screen and making prints in a similar or moderately larger format.
1200 DPI is worth considering for small prints, photographs with very fine details, portraits meant for retouching, or materials that may later be enlarged. A larger file is not automatically better in every situation — it takes more space and can be less convenient for quick sharing. For a precious, small portrait from the 1950s, however, the extra reserve of detail usually has real value.
JPG or TIFF — which file to choose
JPG is practical for everyday viewing, sending to the family and storing on a phone. It has a smaller size, so it is easier to manage. TIFF records more data and works well as an archival file and a base for further processing or printing.
In many archives a combination of both formats is reasonable: TIFF as digital protection and JPG for convenient use. The best variant depends on the number of photographs, planned use and whether the photograph will later be restored or enlarged.
What retouching an old photograph needs
The scope of restoration should follow from the actual state of the print. Specks of dust, single scratches and slight colour casts can usually be removed subtly. Deeper cracks across a face, losses of emulsion, flood marks, folds or fragments of the photograph completely torn from the paper are harder.
Professional retouching requires each case to be assessed separately. It is not honest to promise an identical result for every photograph, especially when part of the image is missing. A retoucher can reconstruct a logical fragment of background, correct the outline of clothing or rebuild part of a face from surviving elements, but credibility should always be the limit.
A natural result means the person in the photograph still looks like themselves. Wrinkles should not disappear only because a program can smooth skin. Slight unsharpness from an old camera also need not be a fault to remove at all costs. Sometimes it is part of the original character of the frame.
Colourisation — when it brings a picture to life, and when caution is needed
Colourisation of a black-and-white photograph can bring the past much closer. Eye colour, the shade of a uniform, flowers on a dress or the warm light of a summer day make a portrait more personal for younger family members. It is a good choice for a gift, for framing or as part of a family chronicle.
Remember, however, that a black-and-white photograph does not contain information about all the real colours. Historically credible colourisation rests on knowledge of the era, materials and surviving clues, but not every detail can always be confirmed. If it is known that grandmother had a navy dress or the car was cream, it is worth passing that on with the order. It helps create a result closer to family memory.
A good solution is to keep both versions: the original black-and-white and the colour one. The first protects the documentary look of the photograph; the second gives it a new, emotional form.
The safety of originals is part of the service
Handing family photographs over for digitisation is often harder than choosing a resolution. The client is, after all, passing on things that cannot be bought again. That is why before shipping it is worth ordering the prints, not taping them and not trying to force apart photographs that have grown together or stuck to album pages.
The safest approach is to lay photographs flat, interleave them with clean paper and protect them from shifting in a stiff package. It is also worth labelling groups of photographs if their order matters. A caption such as “holiday 1978” or “grandparents’ album” can later make ordering the digital archive easier.
In a shipping model clear rules for handing over materials, insured return of originals and protected delivery of finished files matter. StareZdjęcia runs this process from receiving prints through to the return of keepsakes, so you do not have to look for separate contractors for scanning, retouching and preparing files.
Where to start ordering a family archive
You need not digitise all photographs from several decades at once. It is often better to start with the most precious part of the collection: the oldest prints, the most damaged photographs or the album the family regularly asks about. The first batch lets you see the difference between a faded original and a well-prepared file.
When choosing photographs, pay attention to pictures with captions on the back. Dates, first names and place names are as valuable as the image itself. Before handing materials over you can write them down in a simple notebook. In a dozen years such a description may decide who is standing in the photograph and why that frame mattered to the family.
Memories need not wait for a “better moment”. One saved photograph can start a conversation that no one managed to have before — about parents’ childhood, unknown relatives and places that exist now only on old paper.