
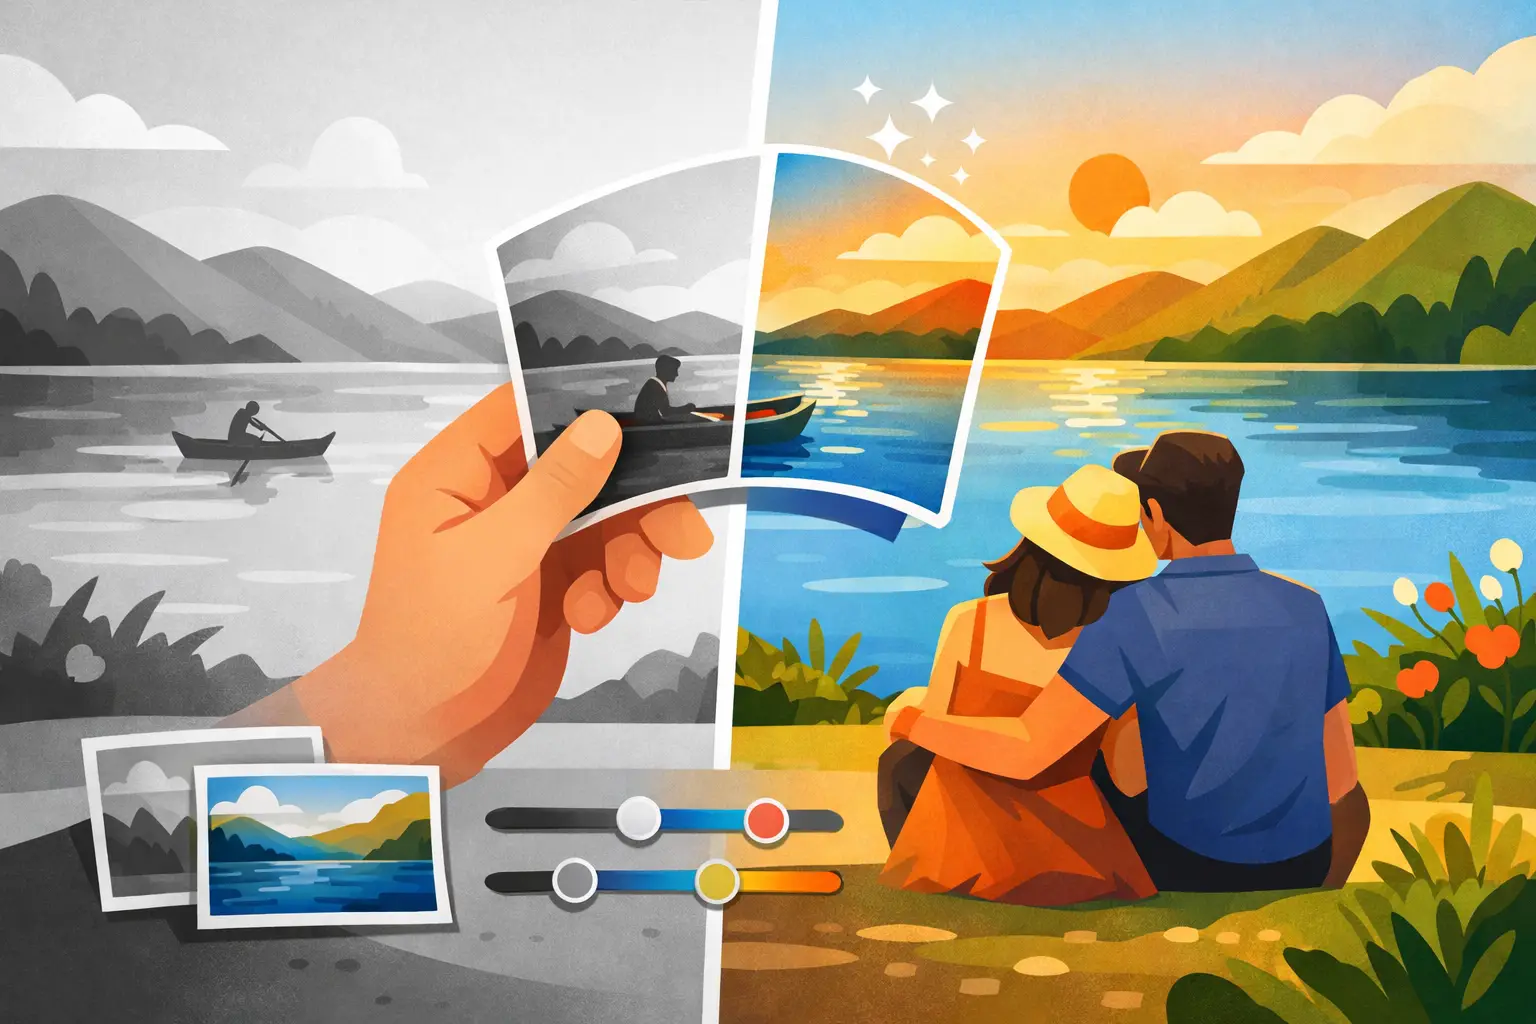
A black-and-white photograph of a grandmother at First Communion, a portrait of parents on their wedding day or a picture of a grandfather in military uniform often holds more than an image. They are a trace of a specific moment the family has talked about for years. Photo colourisation can bring that history closer — without changing its meaning, but helping you see faces, fabrics and places more clearly.
Well-done colourisation is not a random overlay of colours. Its aim is a credible, natural image that respects the period, the character of the photograph and the details visible on the original. It combines work on a digital file, knowledge of old materials and care for a family keepsake.
Photo colourisation is more than adding colour
On a black-and-white print colour is not recorded directly. The person doing the colourisation has to read many clues: skin tone, light on the face, fabric texture, dress cut, type of uniform, season or distinctive interior details. Family stories, other photographs from the same event or knowledge of fashion and everyday life in that decade can help.
Reasonable expectations therefore matter. If the photograph does not show exactly what colour a blouse or a car in the background was, that cannot be reconstructed with complete certainty. Probable colours consistent with the period can still be chosen so that the result looks natural, not like a contemporary filter.
The best result usually does not shout colour. Skin stays subtle, a white shirt is not bluish, and the green of trees does not dominate the people. The viewer has the impression that the photograph has simply regained some of the life that was in it from the beginning.
What does the final result depend on?
The starting point is the quality of the material. A clear print, even a small one, gives more options than a badly blurred, flooded photograph or one missing fragments. That does not mean damaged photographs cannot be worked on. On the contrary — many family keepsakes can first be scanned, digitally cleaned of dust and colour casts, have scratches reduced, and only then colourised.
Scan resolution also matters. Scanning at 600 DPI preserves the details of most prints well, while 1200 DPI can be a good choice for very small photographs, portraits that need precise retouching or material meant for later printing. The better details are recorded in the file, the more carefully you can work with facial edges, hair and small clothing elements.
Not every photograph needs the same amount of intervention. A 1950s studio portrait may mainly need tonal balance and delicate skin colours restored. A 1970s family picnic will be more complex, with plants, several people’s clothes, a blanket, dishes and background. In both cases naturalness matters more than intensity.
Protection first, then renewal
Colourisation works best on a digital copy, never at the expense of the original. A paper print can be brittle, wavy or show traces of an old album. That is why safe scanning is the first step in saving a family archive.
After digitisation you can keep both the source file and the version after retouching and colourisation. That is a good solution for people who want a choice: a classic black-and-white photograph for an album and a colour version for a frame, a print or sharing with relatives.
What does a professional colourisation process look like?
Work starts with an assessment of the photograph. Creases, losses, stains, colour casts or places with a lost image are checked. Then a high-quality scan is made, which becomes a safe base for further work.
The next stage is retouching. Removing a single scratch can be simple, but repairing a crack through a face needs great care. The aim is to restore readability without smoothing the photograph beyond recognition. Freckles, wrinkles, a characteristic hairstyle or fabric texture are part of a real likeness.
Only on the prepared image are colours chosen. Skin and hair are usually worked on first, then clothing and background. Colours are built in layers, taking into account the light visible in the photograph. A shadow on a cheek should not have the same brightness as a lit forehead, and a white dress in shadow will not be identical to the white of a tablecloth by a window.
Finally the whole needs checking. The colour image should still look like a photograph of its own time, not a scene created today. That is where the difference between an automatic effect and a carefully, manually finished keepsake becomes visible.
When does colourisation make the most sense?
The most moving results come from photographs that have a specific role in family history. It may be the only portrait of a great-grandmother, a photograph of a house that no longer exists, or a frame from a mother’s childhood. Colour helps younger family members connect more easily with people known until now only from a grey print.
It is also a good idea for a gift. A colour portrait framed and printed can become an exceptional present for a wedding anniversary, a parent’s birthday or a family gathering. Not every photograph has to be colourised, however. Sometimes the black-and-white version has its own strength and aesthetics that should not be replaced. The colour version can be treated as an extra interpretation, not a substitute for the original.
How to prepare photographs for sending
You do not need to clean prints with liquids or try to flatten them with an iron. Such actions can worsen the condition of paper and photographic emulsion. It is enough to interleave photographs with clean sheets, lay them flat in rigid packaging and secure them against shifting in transit.
If you know the photograph’s history, attach a short note. The year, place, a description of clothing, the eye colour of the person in the portrait or a memory of a dress colour can be a valuable clue. They are not obligatory, but they help reach a result closer to family memory.
At StareZdjęcia the whole process can start with an online order and safe courier shipping. Originals are digitised, processed on digital copies and then returned in an insured parcel. Finished photographs can be delivered as JPG or TIFF files, depending on needs related to archiving, printing or further sharing with the family.
Is automatic colourisation enough?
Automatic tools can quickly recognise a face, sky or vegetation, so they can be useful as a first sketch. Their problem starts where a photograph contains less obvious details: uniforms, historic interiors, unusual light, old fabrics or damage. A program may assign a colour that looks technically correct but does not match the period or completely changes the character of the scene.
Manual correction lets such decisions be verified. It is especially valuable with photographs that matter emotionally and cannot be replaced with another shot. In family archives the stake is not speed, but the sense that a memory has been treated with due care.
Colour will not turn back time, but it can mean that the person in an old portrait stops being a distant figure from an album. It is worth starting with one photograph that most often holds your gaze — and giving it a chance to tell its story again.